A straight finish starts with the base.
The supporting surface and concealed wall condition need review before new siding goes on. Establish a repair and documentation process for damage discovered during removal.
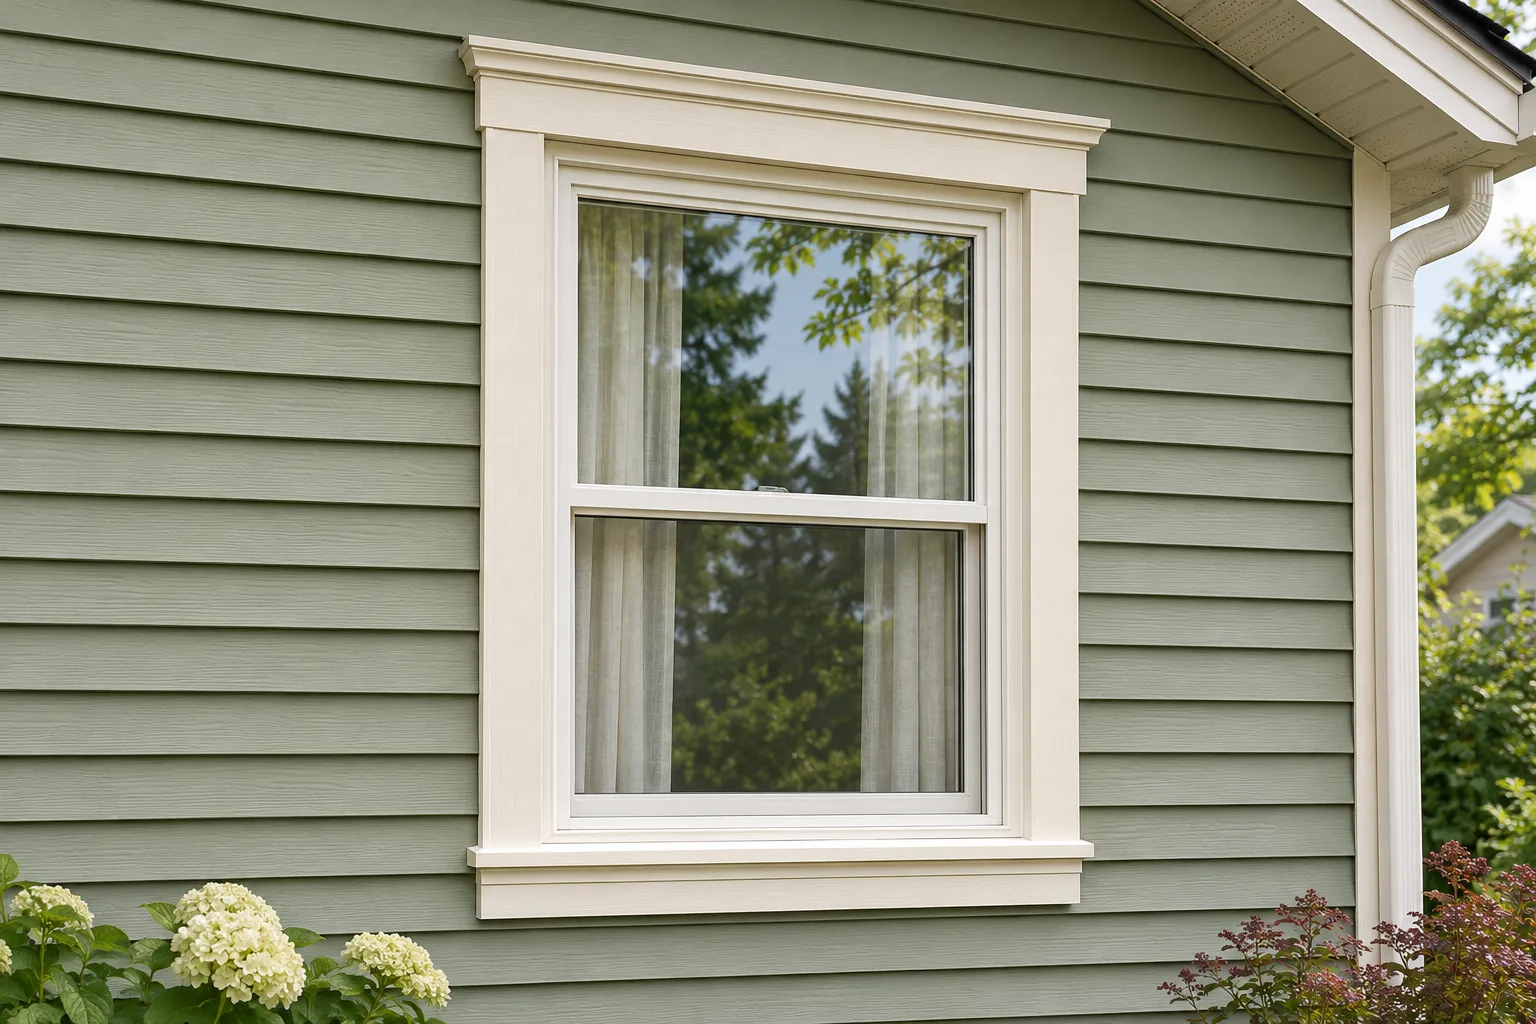 HAUSE visual concept / Illustrative finishes, not a project or product certification.
Agree the inspection point
Put a specific review point in the work sequence after removal and before covering. Ask who will assess exposed conditions and what will trigger further investigation. The purpose is to make decisions while the relevant part of the wall is visible.
Record the original condition
Before work begins, note leaks, stains, distorted surfaces and any previous repairs. Keep the observations tied to elevations. These notes help the provider plan the inspection and distinguish an existing issue from an item first revealed by removal.
Define repair allowances
Ask how damaged sheathing or other supporting materials will be measured and priced. If the extent is unknown, agree the authorization process. A useful change record includes the reason, location, quantity and proposed cost before the repair is covered.
Coordinate insulation decisions
An exterior renovation may provide an opportunity to improve the wall assembly. Added layers affect thickness and junctions. Discuss the complete design with an appropriate professional rather than treating insulation as a loose extra material under the siding.
Check the finished supporting plane
Ask the installer how the chosen system’s supporting-surface requirements will be met. The cladding is one part of the resulting appearance. A finish installed over an unresolved base can make a concern difficult to diagnose later.
Keep a closed-wall record
Save labelled photographs and approved repair records with the final selection and quote. A concise record should make it possible to identify what happened on a particular elevation. It is more useful than a large unlabelled collection of close-ups.
A project conversation
Removal reveals localized damage below an upper window. Pause at the agreed inspection point, document the area and establish the cause and repair scope before new layers close it.
Bring these questions
- When is the exposed-wall review?
- How are repairs measured?
- What record is provided before covering?
Read the original guidance
These sources support the principles discussed. Use current instructions for the exact product and confirm applicable local requirements. International technical resources explain mechanisms; they do not establish Canadian approvals.