Measure elevations, then plan the pieces.
Start with each rectangular elevation, add triangular gables, and identify openings. Net area supports an early budget. Panel lengths, courses, joints, accents and accessories determine the eventual material order.
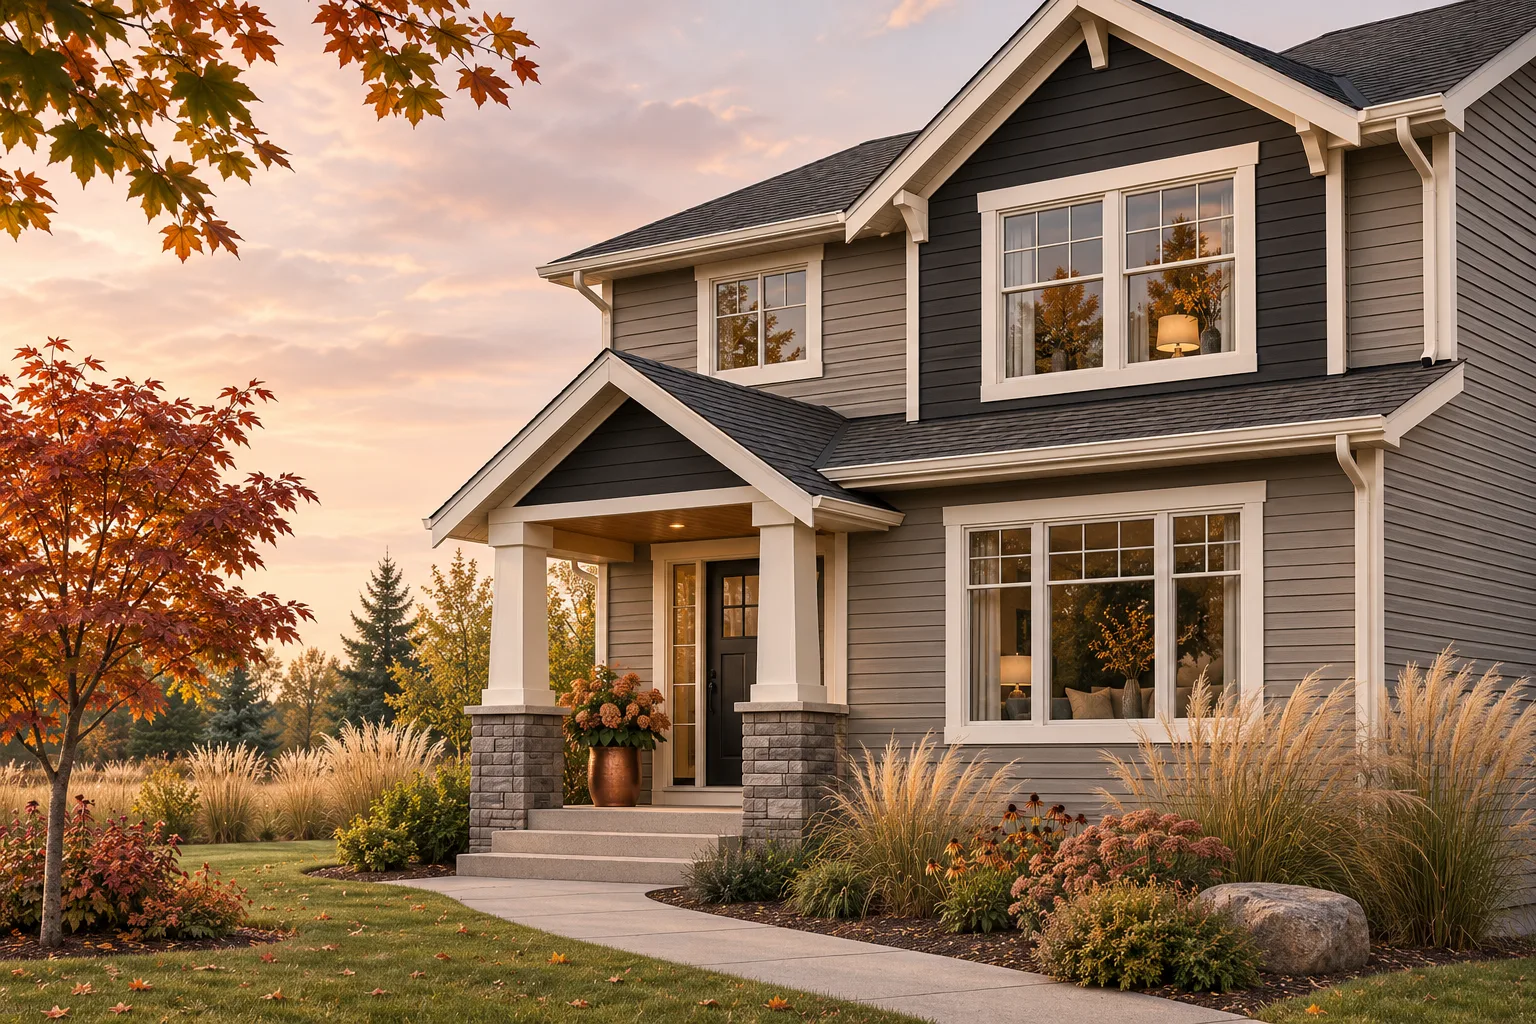 HAUSE visual concept / Illustrative finishes, not a project or product certification.
Create an elevation list
Name every separate wall or section. Use a simple sketch that shows which measurements belong together. Separate a lower wall from a gable when that makes the shape clearer. Include attached garages, small returns and walls partly hidden by an addition or porch.
Separate rectangles and triangles
A basic rectangular area is width multiplied by height. A triangular gable adds half its base multiplied by its rise. Keep the rise separate from the rectangular wall height. For complex roof shapes, split the drawing into simpler parts and identify any areas you have deliberately excluded.
Record openings once
Mark the width, height and position of windows and doors. Use a consistent measurement convention and tell the installer what you measured. Gross and net wall areas answer different questions. Some waste, trimming and handling remain around openings even when their area is deducted.
Move from area to pieces
Horizontal courses must meet corners and work around openings. An area allowance cannot show every short remainder, lap or notched piece. The elevation planner offers a conservative course study, with the chosen dimensions displayed. It is a conversation starter for the installer’s take-off.
Measure accessories separately
Keep a list of corners, receiving channels, starter, finishing strips and material transitions. Add service penetrations and roof-to-wall junctions. These are usually linear or counted items. Their quantities should remain visible alongside field area so they do not vanish inside a square-foot rate.
Choose safe measuring methods
Use existing plans, ground-level measurements and professional survey methods as appropriate. Do not climb to inaccessible edges to make an early enquiry more precise. Mark estimates clearly. The quote process can begin before an installer has confirmed the final dimensions.
A project conversation
An illustrative wall is 20 ft wide and 10 ft high with a 4 ft gable rise. Gross area is 240 sq ft. A 4 × 4 ft window leaves 224 sq ft net. A 10% area allowance gives 246.4 sq ft before full-carton rounding. Those example settings are editable.
Bring these questions
- Are these gross or net measurements?
- What is the gable rise?
- Which trims are counted separately?
Read the original guidance
These sources support the principles discussed. Use current instructions for the exact product and confirm applicable local requirements. International technical resources explain mechanisms; they do not establish Canadian approvals.